Microsoft Office Forms are extremely user friendly and are used in many settings for a wide variety of purposes. Microsoft offers a range of templates to get users started and these range from registration forms, to class quizzes to in depth surveys.
Types of Microsoft Forms
Despite looking very similar on the surface, there are two basic types available in Microsoft Forms:
- Forms
- Quizzes
Forms are primarily used to gather information from the user with the response or outcome to be provided by outside sources; this may include Power Automate Flows and/or input from the receiving user/team.
Quizzes can include answers and provide scores and feedback to the user after completion. For example, the quiz may provide the correct answer and a reason why if a user has responded to a mathematical question incorrectly.
It’s important to consider which type of form you need prior to commencing the development of your Form.
Navigate to Microsoft Forms.
In the top left-hand corner of any Microsoft Office 365 (O365) App you’ll see the vertex menu of nine dots. This menu will give you a table of the most popular Microsoft O365 apps.
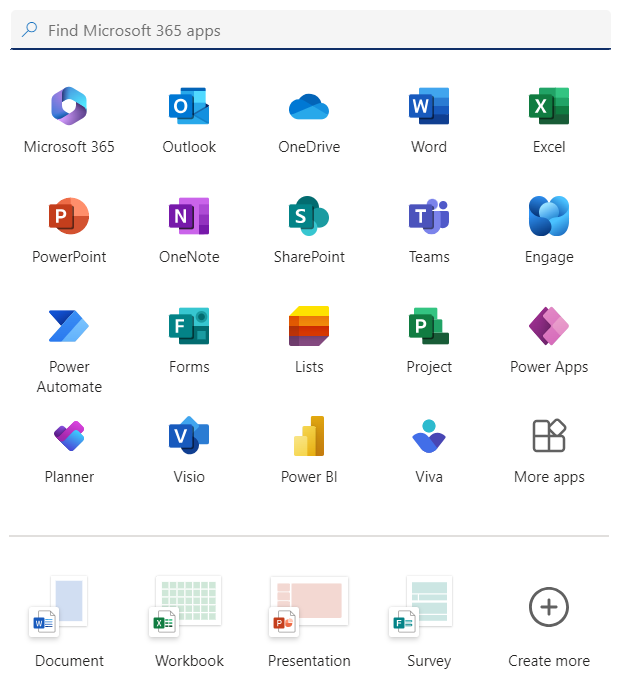
In many instances, as with the above image, you’ll see the app that you want within this display. If not, you also have the option to search for it (shown below).

Click on the Forms icon to navigate to Microsoft Forms.
Decide what sort of Form you need.
At the top of the screen, you’ll have three options: create a new form, a new quiz, or to import a document to use as the basis of your form.
As described above, we need to identify the purpose of our form before we choose what type of form we need.
Are we quizzing our users and want the form to provide an outcome rather than having to score them all manually and write an email in response? Are we seeking user registrations or requesting user feedback about something specific?
Regardless of which form type you create you are presented with the same quick start options (shown below)

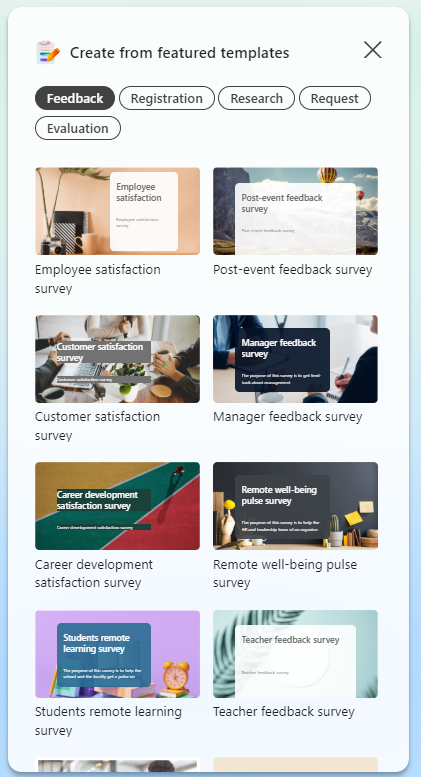
You’ll also have the option of choosing a Template. The template button sits off to the left-hand side and provides you with a list of quizzes or forms depending on your first choice.

The form templates are more wide ranging and are broken into categories
Identify your questions.
It’s important to start with your questions in mind, as it can be annoying to have to go back and shuffle them or change the question type later. It’s certainly not that you can’t do this it’s more that you really don’t want to.
It’s important to consider both what information you need to gather from the user and the users experience when creating forms.
This might look like considering if a question needs to be compulsory which would force all users to respond to the question, but it may also involve providing drop-down or radio box options for the user to make responding quicker and increase clarity.
It’s also worth carefully considering exactly how many questions you need. It can be great to have lots of information but it’s never as much fun to provide it!
Consider your user.
Considering your user is an important step when designing any solution big or small. Microsoft Forms includes a couple of features to break up or control the flow of your form/quiz and it’s important to consider how the user will interact with your end product.
Are they tech savvy and will intuit the branching and sections? Do users need to see certain questions to understand the context of others?
Choose a template or start entering your questions.
Different types of questions require different input. Obviously, in all instances your question will require a question and in some instances, you’ll have the option to provide suggested answers for users.
- Choice
- Drop down box
- Radio box
- Multiple Answers
- Required
- Other Option
- Text
- Long answer
- Required
- Restrictions (input restrictions on type and value)
- Rating
- Variable value response from 2-10
- Symbol selection (e.g. Stars)
- Label for range beginning and end
- Required
- Date
- Required
- Ranking
- Shuffle options
- Required
- Likert
- Required
- Upload File
- Number of file limit
- File size limit
- File type restrictions
- Required
- Net Promoter Score
- Required
Tips!
Questions can be duplicated!
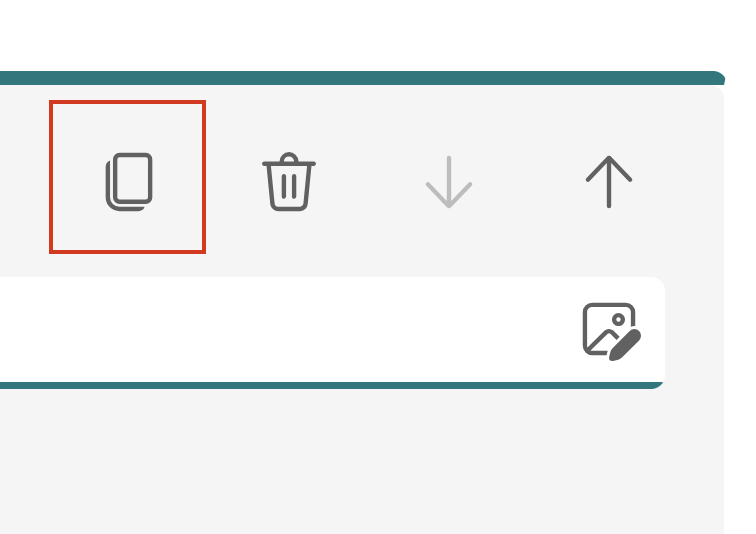
Sometimes it’s efficient to duplicate question structures to avoid repeating steps. This might be a situation where you’re asking different questions with the same answers (eg. Slightly Agree, Agree, etc).
Questions can be reordered!
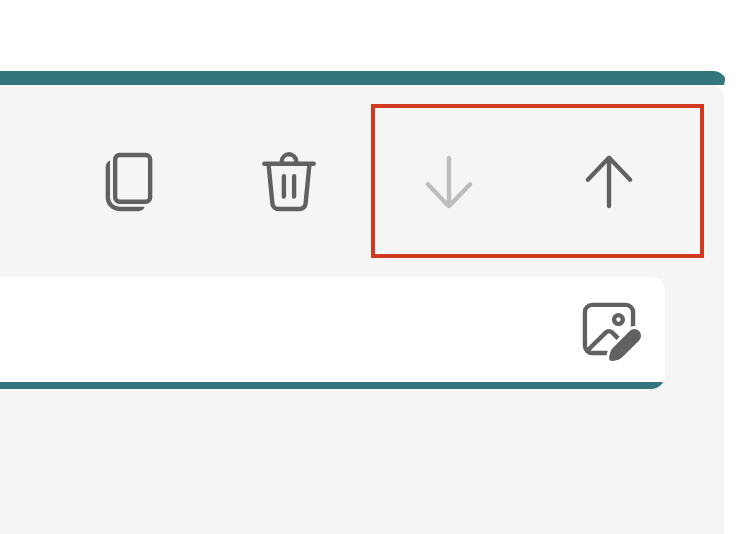
If you have a form design that has the right elements but in the wrong place you can reorder them by up or down arrowing them to where they need to be.
Answers can be pasted!
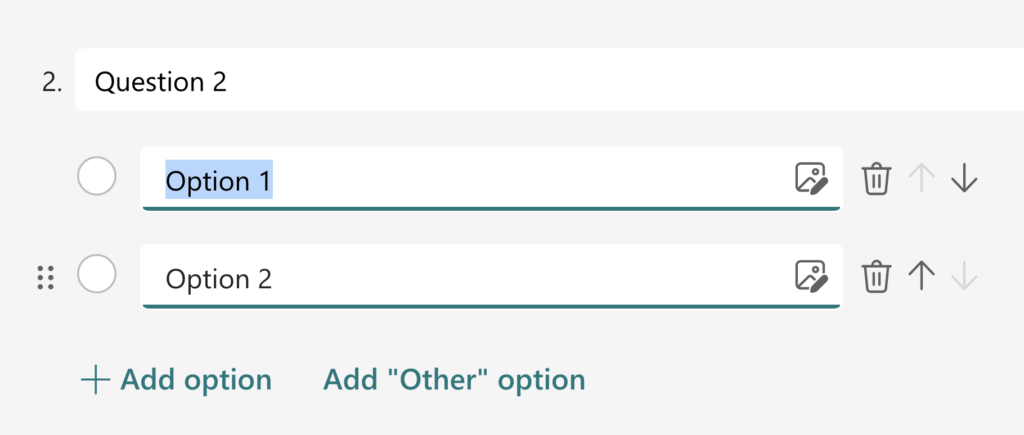
If you have an existing bank or list of questions/answers that you’re building your form from you can past the responses straight into your Microsoft Forms options.
Make sure that your answers are all on new lines, and that Option 1 is either cleared or highlighted. Simply paste all of your selected responses!